Applying a ceramic coating is a meticulous process that requires attention to detail and proper preparation to ensure a flawless finish. The coating creates a durable, protective layer that enhances your car’s paint and provides long-term protection, but its effectiveness relies heavily on how well it’s applied.
In this guide, we’ll walk you through the comprehensive steps involved in the ceramic coating application process, including surface preparation, paint correction, and the actual application of the coating.
Why Preparation Is Crucial for Ceramic Coating
Ceramic coating bonds chemically with your car’s paint, creating a smooth and durable protective layer. However, if the surface isn’t properly prepared, contaminants, imperfections, or residues can interfere with this bond, reducing the coating’s effectiveness and longevity.
The preparation process ensures the paint is clean, corrected, and free of debris, allowing the ceramic coating to adhere seamlessly.
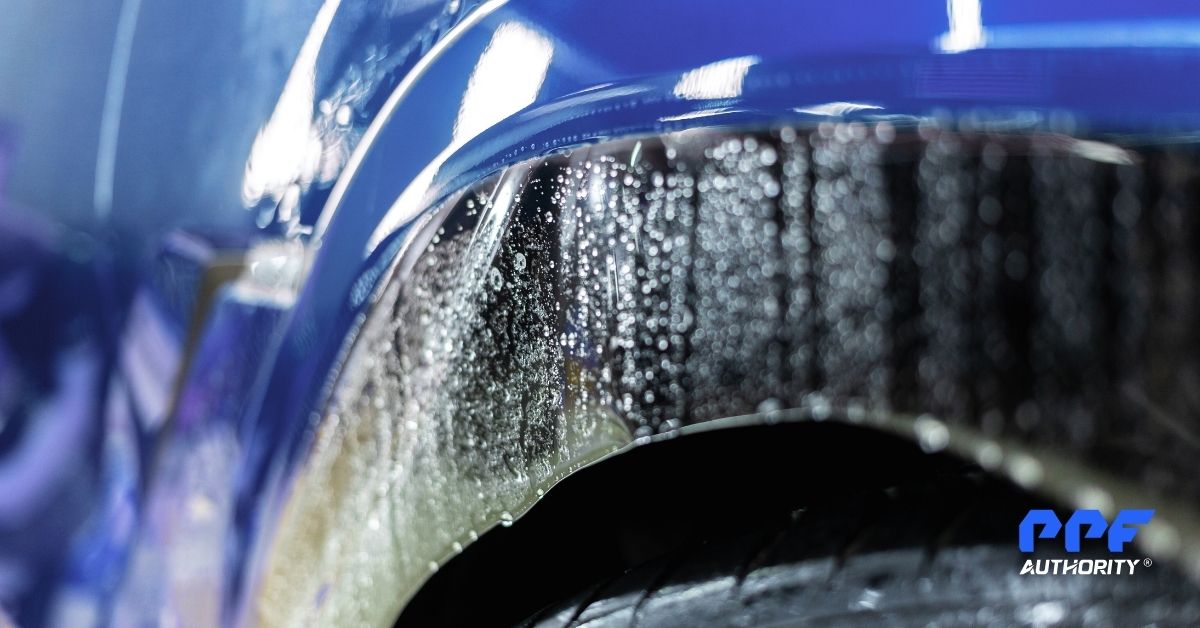
Step 1: Initial Hand Wash
A thorough hand wash is the first step in preparing your car for ceramic coating. This step removes loose dirt, dust, and grime that can interfere with the coating application.
How to Perform the Initial Wash
- Use a pH-Neutral Car Shampoo: Avoid harsh detergents that can damage the paint or leave residues.
- Two-Bucket Method: Use one bucket for soapy water and another for rinsing your wash mitt to prevent reintroducing dirt to the surface.
- Wash from Top to Bottom: Start with the roof and work your way down to minimize dirt streaks.
- Rinse Thoroughly: Remove all soap residue using a hose or pressure washer.
Pro Tip: Dry the car with a microfiber towel to avoid water spots, which can affect subsequent steps.
Step 2: Decontamination with Clay Bar
After washing, your car’s surface may still have embedded contaminants such as industrial fallout, tar, or sap. Clay barring removes these impurities, leaving the paint smooth and ready for coating.
How to Clay Bar
- Apply Clay Lubricant: Spray a clay lubricant (or a mix of water and car shampoo) onto the surface to reduce friction.
- Work in Small Sections: Gently glide the clay bar over the paint in straight lines.
- Inspect the Clay Bar: Check the bar frequently for dirt. Knead it to expose a clean surface before continuing.
- Wipe Clean: Use a microfiber towel to wipe off any remaining lubricant.
Pro Tip: If your car feels rough to the touch after washing, clay barring is especially important to remove those contaminants.
Step 3: Badge and Trim Removal (Optional)
Removing badges and trim can provide a cleaner, more seamless finish during the ceramic coating application. This step ensures full coverage and prevents residue buildup around edges.
How to Remove Badges and Trim
- Use a Plastic Pry Tool: Gently lift badges or trim without scratching the paint.
- Heat the Area (if necessary): A heat gun can soften adhesives for easier removal.
- Clean Residue: Remove any leftover adhesive with a dedicated cleaner or isopropyl alcohol (IPA).
Pro Tip: If you prefer not to remove badges or trim, use masking tape to protect them during the coating process.
Step 4: Paint Correction
Ceramic coating enhances the appearance of your car, but it also amplifies any imperfections like swirl marks, scratches, or oxidation. Paint correction ensures your car’s paint is flawless before applying the coating.
How to Perform Paint Correction
- Inspect the Paint: Use a handheld light to identify imperfections.
- Choose the Right Polishing Compound: Use a cutting compound for deeper scratches and a finishing polish for minor imperfections.
- Use a Dual-Action Polisher: Work in small sections, applying moderate pressure.
- Wipe Off Residue: Use a microfiber towel to remove polish residue.
- Reinspect: Check for any remaining imperfections and repeat as needed.
Pro Tip: Always start with the least aggressive polishing method and work your way up if necessary.
Step 5: Surface Preparation with Isopropyl Alcohol (IPA)
Before applying the ceramic coating, the surface must be completely free of oils, polish residues, or contaminants. IPA wiping ensures the surface is pristine and ready for coating.
How to Perform an IPA Wipe
- Dilute IPA: Mix a 70% isopropyl alcohol solution with distilled water (1:1 ratio).
- Spray the Surface: Apply the solution to a small section of the car.
- Wipe with a Microfiber Towel: Gently wipe in straight lines to avoid streaks.
- Dry the Area: Use a clean microfiber towel to remove any excess.
Pro Tip: Work in small sections to ensure thorough cleaning without letting the IPA dry on the surface.
Step 6: Application of Ceramic Coating
Now that the car’s surface is perfectly prepped, it’s time to apply the ceramic coating. This step requires precision and patience to ensure even coverage and optimal bonding.
How to Apply Ceramic Coating
- Work in a Controlled Environment: Perform the application indoors or in a shaded, dust-free area.
- Use an Applicator Pad: Apply a few drops of ceramic coating onto the applicator pad.
- Apply in Small Sections: Work on one panel at a time, spreading the coating in straight lines (cross-hatch pattern) for even coverage.
- Wait for Flashing: Allow the coating to flash (turn slightly hazy) before buffing.
- Buff with a Microfiber Towel: Use a clean, dry microfiber towel to remove excess coating and achieve a smooth finish.
- Inspect and Repeat: Check for high spots or streaks and buff as needed.
Pro Tip: Use multiple microfiber towels during the buffing process to avoid smearing leftover product.
Step 7: Curing the Coating
Ceramic coatings need time to cure fully to bond effectively with the paint.
Curing Guidelines
- Initial Cure: Avoid water exposure for at least 24 hours after application.
- Full Cure: Most coatings take 5–7 days to fully cure. During this time, avoid washing the car or exposing it to harsh conditions.
Pro Tip: Some products recommend using an infrared curing lamp to speed up the curing process and ensure a durable bond.
Final Steps and Maintenance Tips
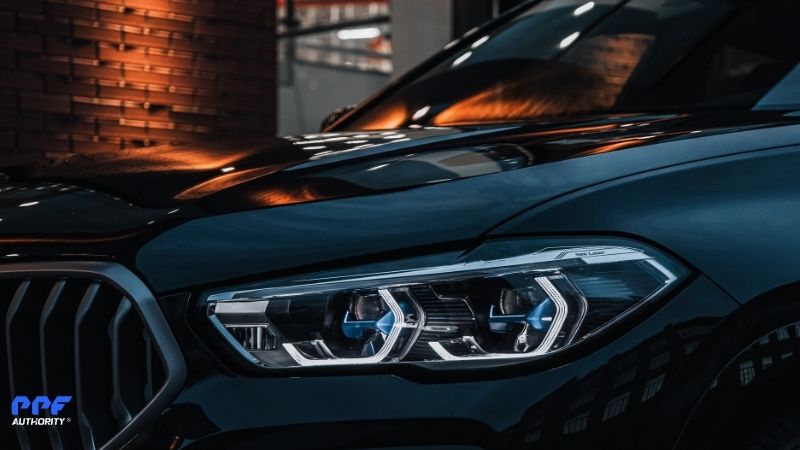
1. Inspect for Imperfections
Once the coating is applied, inspect the car under good lighting to ensure an even finish without streaks or high spots.
2. Educate Yourself on Maintenance
- Use pH-neutral car shampoos for washing.
- Avoid automatic car washes.
- Apply a ceramic booster spray every 4–6 months to maintain hydrophobic properties.
Conclusion
The application of a ceramic coating is a detailed process that requires careful preparation, precision, and patience. By following these steps—washing, clay barring, paint correction, and proper coating application—you can ensure a flawless finish that enhances your car’s appearance and provides long-lasting protection.